

Experiencing a flat tire can be a frustrating and inconvenient situation, especially when it occurs unexpectedly during your travels. Knowing how to effectively and safely repair a flat tire is an essential skill for any driver, ensuring that you can handle roadside emergencies with confidence and ease.
When faced with a flat tire, it’s crucial to remain calm and follow a step-by-step approach to resolve the issue. This guide will provide you with practical steps to safely manage a flat tire repair, whether you’re parked on the side of the road or in a more secure location. Understanding the process not only helps you feel more empowered but also minimizes the risk of accidents while you work.
Equipping yourself with the right tools and basic knowledge about tire repair will make all the difference in a roadside emergency. Follow the outlined steps carefully to ensure you can get back on the road quickly and safely, maintaining peace of mind during your journey.
Assessing the Damage Before You Start
Before attempting to repair a flat tire, it is essential to thoroughly assess the damage to ensure a successful and safe fix. Start by visually inspecting the tire for any obvious signs of punctures, cuts, or embedded objects such as nails or screws.
Check the Tread: Examine the tread for excessive wear or damage. If the tread is too worn down, it may be time to replace the tire rather than repair it.
Identify the Location: The location of the damage plays a crucial role in determining whether you can repair the tire. Punctures in the tread area are generally repairable, while damage to the sidewall often indicates the need for a replacement.
Assess the Size of the Puncture: Small punctures, usually up to 1/4 inch in diameter, can typically be repaired. If the damage exceeds this size or if there are multiple punctures close together, it’s advisable to seek professional help.
Check for Air Leaks: After identifying any visible damage, inflate the tire and listen for hisses or bubbling sounds that indicate air leaks. Soapy water can be used to spot leaks easily.
Once you complete this assessment, you will be better equipped to make an informed decision on whether to repair the tire or opt for a replacement. Proper evaluation can save time and ensure a safer driving experience.
Choosing the Right Tools for the Job
When it comes to repairing a flat tire, having the right tools on hand is essential for a safe and effective process. Begin by ensuring you have a reliable tire changing kit, which typically includes a jack and a lug wrench. These tools will help you safely lift your vehicle and remove the wheel with ease.
Next, consider including a tire repair kit that contains essential items such as tire plugs or patches, a reamer, and a insertion tool. These components are crucial when sealing punctures and ensuring long-lasting repairs. Additionally, don’t forget to keep a portable air compressor or a manual pump to reinflate the tire once the repair is complete.
Safety equipment, like gloves and reflective vests, should also be part of your toolkit. Gloves will protect your hands from dirt and sharp edges, while a vest will keep you visible to other drivers, especially if you find yourself working on the roadside.
Finally, having a tire pressure gauge on hand is important to accurately check the inflate of the tire post-repair. This ensures that your tire is safe to drive on and helps prevent future flat incidents. Equip yourself with these essential tools to make flat tire repair a straightforward process.
Step-by-Step Tire Repair Process on the Road
Repairing a flat tire on the roadside can be a daunting task, but following these steps can help ensure the process goes smoothly. First, make sure you are in a safe location, away from traffic. Turn on your hazard lights to alert other drivers.
1. Gather Your Tools: Before beginning the tire repair, collect the necessary tools. You will need a spare tire, a jack, a lug wrench, and possibly a tire repair kit that includes plugs or patches for small punctures.
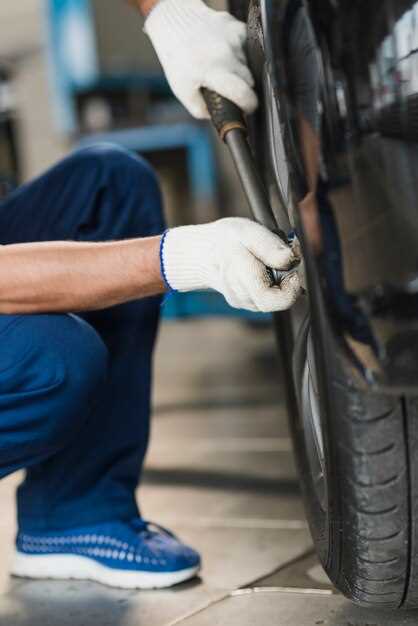
2. Loosen the Lug Nuts: Use the lug wrench to loosen the lug nuts on the flat tire before raising the vehicle with the jack. Turn the wrench counterclockwise, but do not remove the nuts completely yet.
3. Raise the Vehicle: Position the jack under the vehicle’s designated lifting point and raise the car until the flat tire is off the ground. Ensure it is stable before proceeding.
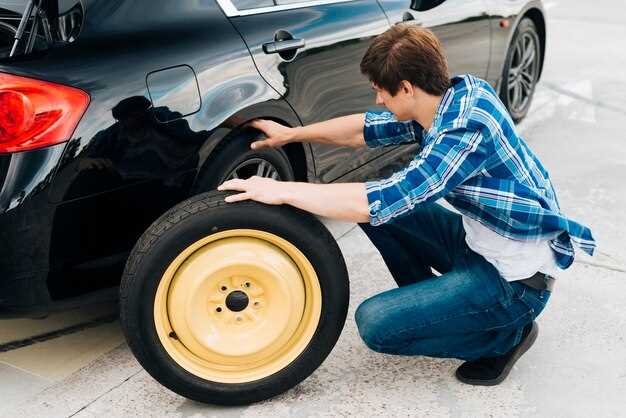
4. Remove the Flat Tire: Once the vehicle is raised, remove the loosened lug nuts completely and set them aside. Carefully take off the flat tire.
5. Inspect the Tire: Examine the tire for visible punctures or damage. If the puncture is small and located in the tread, you can proceed with a repair. If the damage is severe, it may be safer to replace the tire altogether.
6. Repair the Puncture: If using a repair kit, follow the instructions provided. Insert a plug into the puncture with the included tools, ensuring it forms a tight seal. For a patch, follow similar steps, ensuring the surface is clean and properly prepared.
7. Reattach the Tire: Place the repaired tire back onto the wheel hub. Hand-tighten the lug nuts onto the studs to secure the tire in place.
8. Lower the Vehicle: Carefully lower the jack until the tire touches the ground. Once stable, you can fully tighten the lug nuts in a star pattern to ensure even pressure.
9. Check the Repair: After completing the repair, ensure the tire is properly inflated and that the repair is secure. If it is not holding air, consider replacing the tire or seeking professional help.
10. Store Your Tools: Once the repair is complete, pack away your tools and drive carefully to the nearest tire shop for a professional inspection, if necessary.


